







Content
Most restaurant booth installation delays have little to do with the booths. The wall has no blocking, the floor is out of level, a floor box sits where the base should go, or nobody agreed who unpacks the crates. Each of these is cheap to fix before delivery and expensive to fix after.
This checklist is for general contractors, project managers, and operators coordinating booth installation in a new or refurbished restaurant. It runs from site readiness through delivery, installation, punch list, and handover.
1. Before the booths ship: site readiness
Dimensions and layout
- ☐ Field-measure every booth wall after drywall and before shop drawings are final. Compare with the drawings and record any differences.
- ☐ For curved and U-shaped booths, measure the actual wall radius. Built walls rarely match the 2D drawing exactly, and a prefabricated curve can arrive with a visible gap.
- ☐ Confirm finished floor height and floor finish at each booth location.
- ☐ Check aisle widths with the booths in place. US projects need at least 36 in (915 mm) of accessible route, and Australian projects need to meet AS 1428.1.
- ☐ Confirm booth heights, module lengths, and table positions against the approved layout.
Wall structure and blocking
Wall-hung booth backs need something solid to fix into. Most failures happen where the screws pull out of the wall, not in the booth.
- ☐ Light-gauge steel stud walls: install a continuous 18 mm (3/4 in) plywood backer between the studs at the mounting rail height. Don't fix booth hardware directly into 20 or 25 gauge studs with drywall screws.
- ☐ Timber stud walls: confirm stud spacing and blocking at rail height.
- ☐ Masonry or concrete: confirm the wall can take expansion anchors at rail height, and that there are no services in the way.
- ☐ Mark rail height on the wall drawing, allowing for the booth base height and the lift-off travel of the mounting hardware.
Services behind and under the booths
- ☐ Power outlets, data, and USB charging points located against the booth drawings, with matching access cutouts in the booth frames.
- ☐ Floor boxes, drains, cleanouts, and sprinkler valves either kept clear of booth bases or given an access panel.
- ☐ Nothing installed in the wall at rail height that a mounting screw could hit.
- ☐ If booths will hide services, make sure they can be removed for maintenance. Booths screwed through the face and caulked in place can't be lifted off without damage.
Access and staging
- ☐ Door, corridor, lift, and stair dimensions checked against the largest crate or booth section.
- ☐ A dry, clean, secure staging area big enough to open and sort crates.
- ☐ Delivery time booked with the building, including loading dock or curb access and any restricted hours.
- ☐ Wet trades (painting, flooring, grouting) finished in booth areas before booths go in.
2. Delivery and receiving
- ☐ Check the container seal number against the shipping documents before it is opened.
- ☐ Count cartons and crates against the packing list.
- ☐ Photograph visible damage before signing the delivery receipt, and note it on the receipt.
- ☐ Open and inspect a sample of crates the same day, so damage or shortages are reported while the delivery is still fresh.
- ☐ Store upholstered sections off the floor, covered, and away from wet work.
- ☐ Sort sections by location using the labels or the booth schedule.
Note: B2B freight terms such as DDP normally end at the dock or curb. Carrying in, unpacking, and removing packaging need to be assigned to someone in advance.
3. Installation sequence
How long installation takes depends on how the booths mount. With traditional site-cut wooden cleats or face screwing, a crew spends hours per section measuring, drilling, and shimming. For permanent hospitality installs we use a factory-fitted Z-cleat (6063-T6 aluminum interlocking rail), the same system described in our engineering guide. Once the wall rail is fixed, two installers usually dock a section in about 15 minutes.
Toolless steel-wedge or quick-lock brackets can look convenient, but they are only suitable for temporary displays or light residential-style pieces. For commercial dining rooms, wall structure, anti-lift hardware, and repeatable alignment still need the Z-cleat method.
The sequence for a Z-cleat-mounted booth:
- Set out a level datum line along the wall with a laser, allowing for finished floor height and the lift-off travel of the Z-cleat.
- Fix the wall-side Z-cleat rail into the plywood backer through the pre-punched holes (8 in / 203 mm centers on our rails). Keep the rail flat and level along the run.
- Place the seat base against the wall and level it with the adjustable glides.
- Lift the upholstered back, hold it slightly above the rail, and slide it down until the Z-cleats lock.
- Fit the concealed anti-lift screw through the toe-kick so the back can't be lifted off the rail accidentally.
- Check seams between neighbouring sections and adjust the base levelers if needed.
Our guide to Z-cleat booth installation gives the cleat dimensions, fastener and wall backer requirements, and the step-by-step field procedure.
4. Who does what
Agree this in writing before delivery. Most site disputes start with a task nobody owned.
| Task | Typically owned by |
|---|---|
| Wall blocking and plywood backer | General contractor |
| Power, data, and floor box locations | General contractor / electrician |
| Field dimensions and shop drawing approval | GC and designer, with the booth supplier |
| Delivery to dock or curb | Booth supplier / freight forwarder |
| Unloading, carry-in, unpacking, packaging removal | Agreed in advance (GC or installer) |
| Booth installation | Installer or GC's carpenters, to the supplier's instructions |
| Punch list repairs on booths | Booth supplier, with parts shipped or repaired on site |
5. Discrepancies and damage
- ☐ Log every issue with photos, the booth location, and the part or label number.
- ☐ Separate transit damage (for the freight claim) from manufacturing defects (for the supplier).
- ☐ Agree the fix for each item: repair on site, replacement part, or replacement section, with a date.
- ☐ Use attic stock or spare fabric for small repairs rather than waiting for a shipment.
6. Punch list and handover
Before signing acceptance, walk every booth:
- ☐ Each back fully seated on its rail with the anti-lift screw fitted
- ☐ Seats level, no rocking, and glides adjusted to the floor
- ☐ Seams between sections aligned and gaps even along continuous runs
- ☐ Upholstery clean, undamaged, and free of wrinkles or loose seams
- ☐ Crumb gap between seat and back clear
- ☐ Tables positioned at the agreed overlap with the seat edge, and table bases clear of guests' legs
- ☐ Access panels and cutouts line up with outlets and services
- ☐ Flammability labels in place and readable where required (US: permanent 16 CFR 1640 label)
Hand over a documentation pack to the operator:
- ☐ Fire test reports and certificates for the installed fabric, foam, and barrier
- ☐ Fabric references, dye lot numbers, and the approved cleaning method
- ☐ As-installed layout with booth references
- ☐ Warranty terms and the supplier contact for claims
- ☐ Spare fabric, glides, and hardware, and where they are stored
For booth construction details, sizes, and fire ratings, start at our commercial booth seating hub.
Plan your booth installation with us
We can review your floor plan, wall construction, and services before shop drawings are approved, so blocking, cutouts, and booth sizes are settled before anything ships.
Email info@rongroup.co or call / WhatsApp +86 13380258855.
Get the week's latest industry information
-
Real-Life Professional Restaurant Case Studies
Explore Now
-
Create a unique restaurant with over 95,700+products
Explore Now
-
Protessional Free 3D Restaurant Design
Explore Now
-
Still Have Questions About Opening a Restaurant?
Explore Now

Sylvia
With 8 years in catering & hospitality industry, sales manager of Ron Group, specialise in providing one stop solutions to restaurants, hotels and weddings.
Discover Our Exclusive Products
Explore our extensive range of restaurant and hotel supplies designed to enhance your operations. Find the perfect solutions to meet your needs.
Browse Our ProductsFREE 3D DESIGN
Boost your restaurant's success with our free 3D design service. Start building the restaurant of your dreams today!
Explore 3D Design Case
RECOMMENDED CASES
-
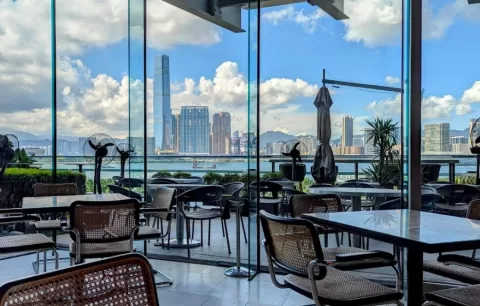
La Rambla by Catalunya: Crafting Barcelona's Soul in Hong Kong - Custom Furniture Excellence
RON Group's custom Spanish-inspired furniture elevates La Rambla with artisanal aesthetics...
Learn More -

Cardinal Point: Elevating Outdoor Seating with Tailored Cushion Upgrades
Discover how Cardinal Point transformed its outdoor dining experience with custom cushions, achievin
Learn More
RECOMMENDED BLOGS
-

Bar Glassware 101: Types, Names, Uses, and How to Stock Your Bar
Learn the 10 core bar glassware types, names, and uses. Discover how to stock your bar with the right glasses for cocktails, beer,...
Sylvia2026-07-26 -
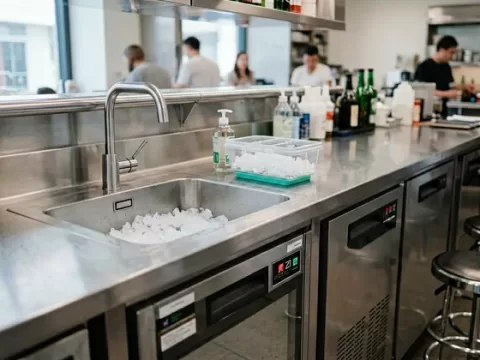
Complete Bar Equipment List for Opening a Bar
Use a complete bar equipment list with pictures, covering workstations, ice, refrigeration, glassware, utilities, sanitation and a...
Sylvia2026-06-11 -
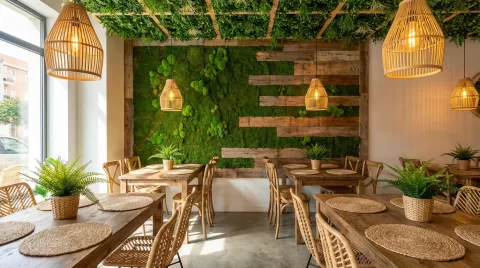
Low-Budget Restaurant Interior Design Ideas: Spend Where Guests and Staff Notice
Explore low-budget restaurant interior design ideas, practical material choices, layout priorities and phased upgrades without...
Sylvia2026-04-04
Subscribe to RON GROUP
Stay up-to-date with the latest industry insights and expert advice. Together, we'll create your ideal restaurant.