



Content
TECHNICAL NOTE // KEY ENGINEERING STANDARD
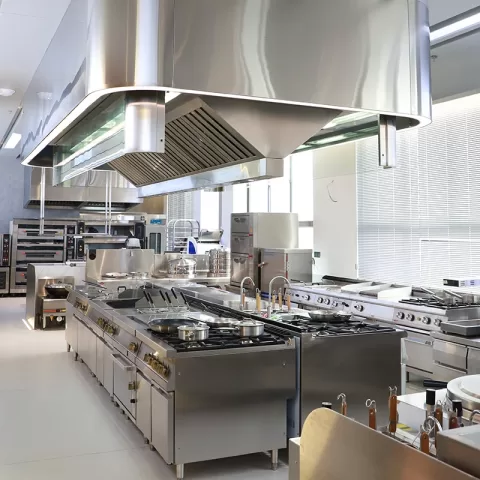
Commercial Sourcing & Engineering Standard: High-turnover hospitality environments require rigorous commercial-grade compliance (ASTM, NFPA 96, NSF/ANSI, and BIFMA engineering standards). Standard residential-grade items experience rapid fatigue failure, escalating long-term Total Cost of Ownership (TCO).
EXECUTIVE MANDATE // PROCUREMENT COMPLIANCE AUDIT
Procurement Compliance Audit: Verify all factory test certificates, utility load calculations (kW, voltage, phase, and ventilation CFM requirements), and manufacturer warranties prior to final procurement dispatch.
A Look Inside Ceramic Plate Production
At RON GROUP, every ceramic plate begins as raw material. It is then shaped through skilled craftsmanship and careful processes. In this article, we will guide you through each key stage of production, showing the art and science behind crafting each durable and elegant plate.
Raw Material Preparation for Ceramic Plates
At RON GROUP, ceramic plate production starts with carefully chosen raw materials. Each type of clay is selected for its unique qualities, affecting the
plate's durability , strength, color, and finish.
| Type | Characteristics and Uses | Firing Temperature | Water Absorption | Strength | Applications |
|---|---|---|---|---|---|
| Ceramic | A broad term for items made by firing non-metallic minerals at high temperatures. Encompasses all types mentioned below, with applications varying based on specific properties. | Varies by type | Varies by type | Varies by type | Various types of tableware, decor |
| Earthenware | Fired at low temperatures, earthenware has a porous and coarse texture, typically red or brown (like Terracotta). It needs glazing to be waterproof and is often used for decorative or low-use functional items. | 1000-1150 deg C | High | Low | Light-use tableware, decorative tableware |
| Stoneware | Fired at medium temperatures, stoneware is dense and durable with low porosity. Its color ranges from light gray to brown and it is ideal for everyday tableware and kitchenware. | 1200-1300 deg C | Low | High | Durable tableware, everyday tableware |
| Porcelain | Fired at high temperatures, porcelain is smooth, white, and semi-translucent. Known for its fine texture and lightweight nature, it is best suited for fine dining and decorative purposes. | 1200-1450 deg C | Very Low | High | High-end tableware, decorative tableware |
| Bone China | Contains bone ash, giving it lightweight strength and a creamy, translucent appearance. Ideal for formal dining with a delicate yet durable build. | 1200-1300 deg C | Very Low | Very High | Luxury tableware, fine dining tableware |
| Terracotta | A type of earthenware with a rustic, unglazed reddish-brown finish. It is porous and often used for garden pots and simple decorations. | 1000-1150 deg C | High | Low | Rustic tableware, decorative tableware |
Clay Casting into Molds
The process starts with workers pouring a blend of clay and soil into large mixers. About 20-30% water is added to get the right consistency. This balance gives the clay the right plasticity and texture for molding. Once mixed, the clay is transferred into molds through water pipes, where it settles evenly to form a solid base for each plate.
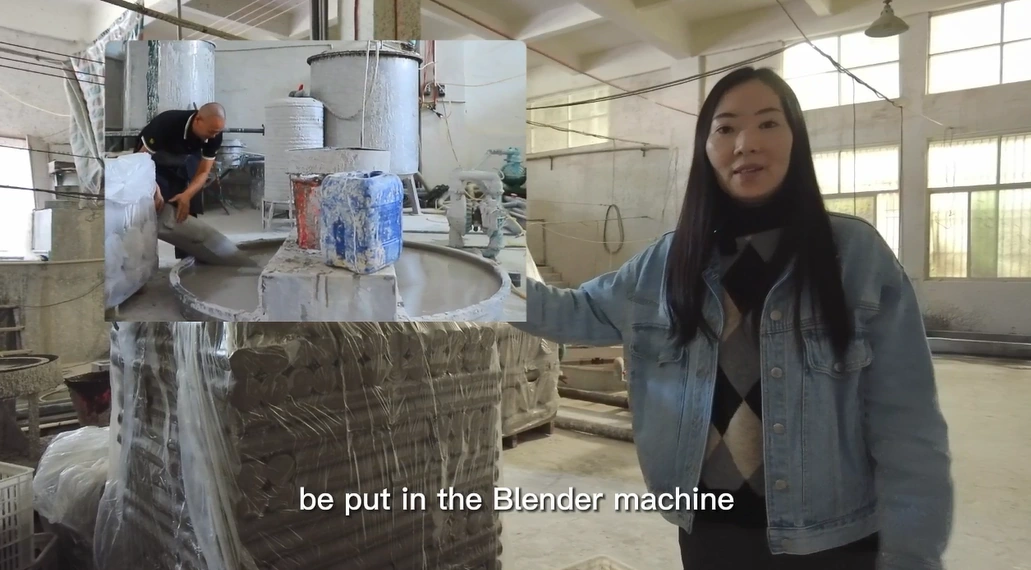
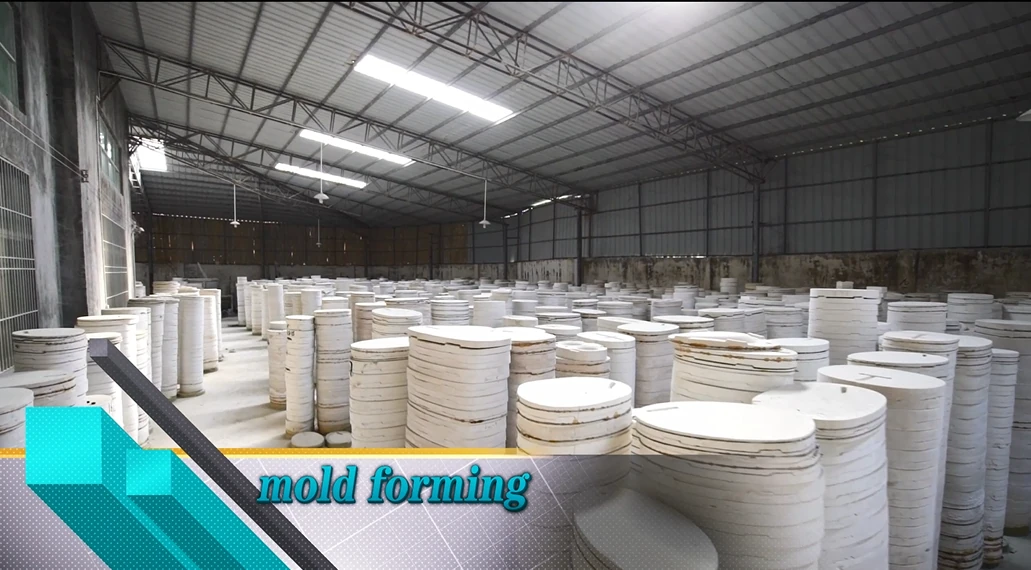
- Slip Casting: In this method, a liquid clay mixture (or slip) is poured into a porous plaster mold. The plaster absorbs moisture from the slip, causing clay particles to build up along the mold walls, gradually forming the shape. This method is ideal for creating complex shapes or hollow designs.
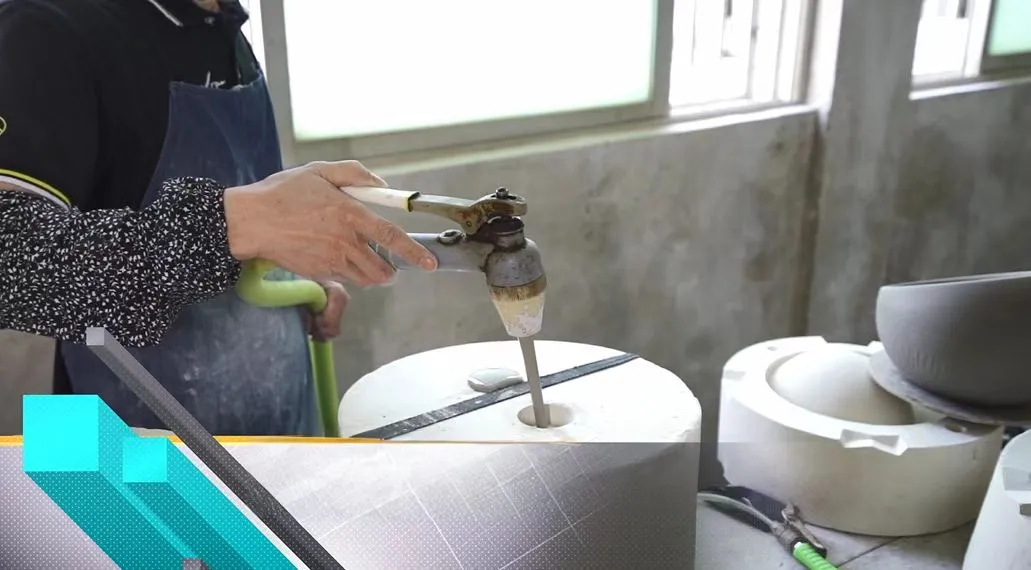
- Rotary Pressing: For plates and other round ceramic items, RON GROUP often uses rotary pressing. In this process, clay is placed in a rotating mold, and a pressing tool applies pressure while the mold spins. This technique creates a uniform thickness and smooth surface. It improves both accuracy and efficiency in production. Rotary pressing works well for making items with consistent size and a polished finish.
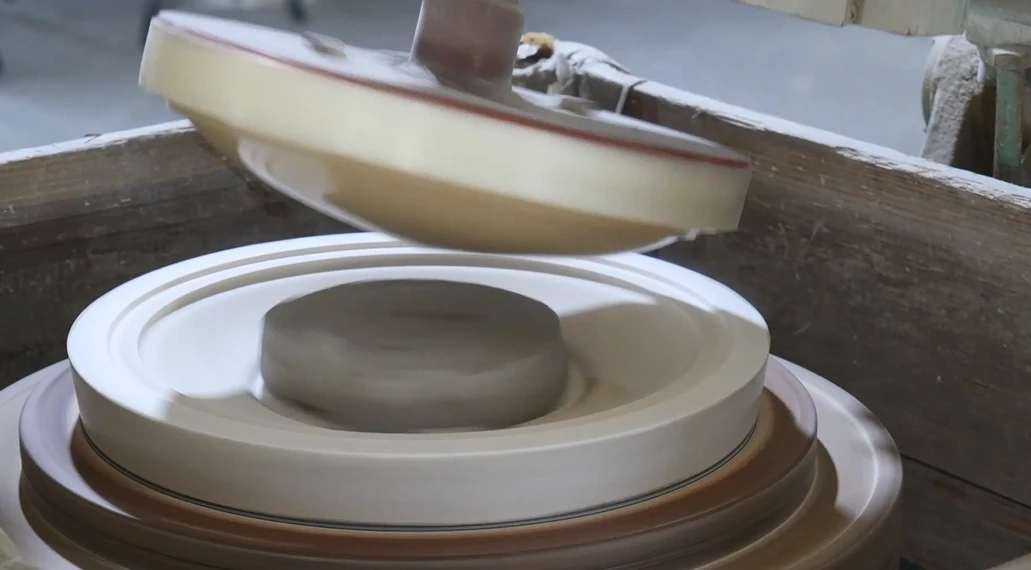
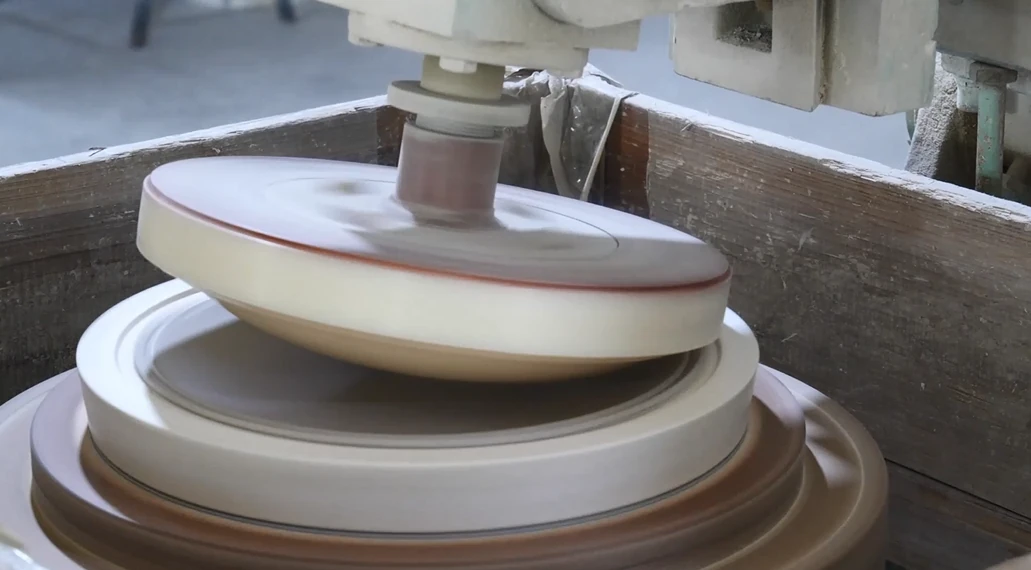
This preparation makes each plate strong and gives it an elegant finish. Customization is also important at RON GROUP. We choose raw materials based on each client's needs for shape, texture, size, and function. Whether clients want the elegance of porcelain, the refined quality of bone china, the natural look of terracotta tableware , the rustic style of earthenware, or the strength of stoneware, RON GROUP adjusts the materials to bring each unique design to life.
Removing and Refining the Molded Clay
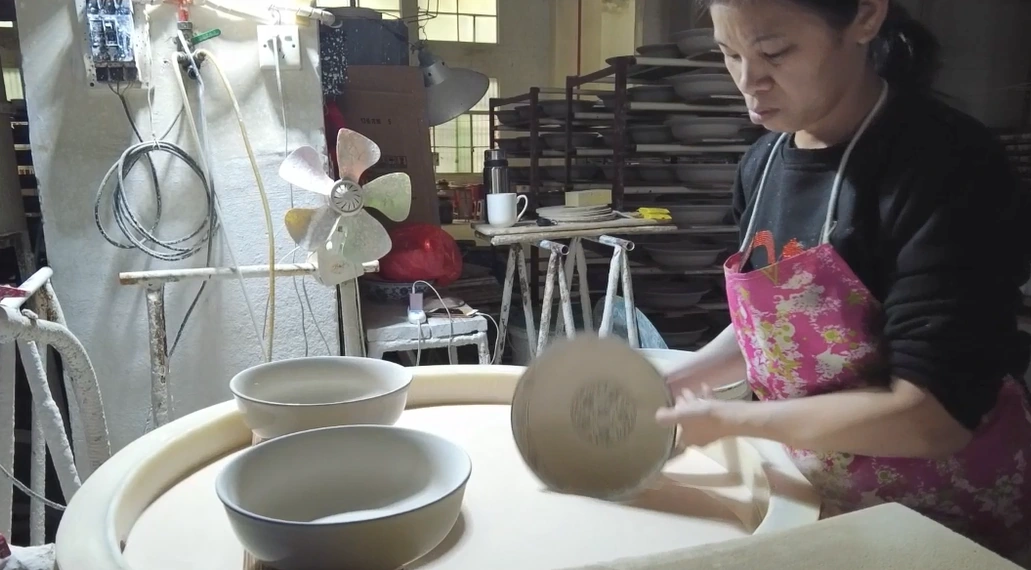
When removing the clay from the mold, it is best to wait until it reaches a "leather-hard" state . This means it is dry enough to hold its shape but still flexible. This helps prevent deformation or cracking. To make demolding easier, workers may gently tap the back of the mold or flex it slightly to loosen the clay. Using a release agent, like talc powder, or lightly wetting the mold can help stop the clay from sticking.
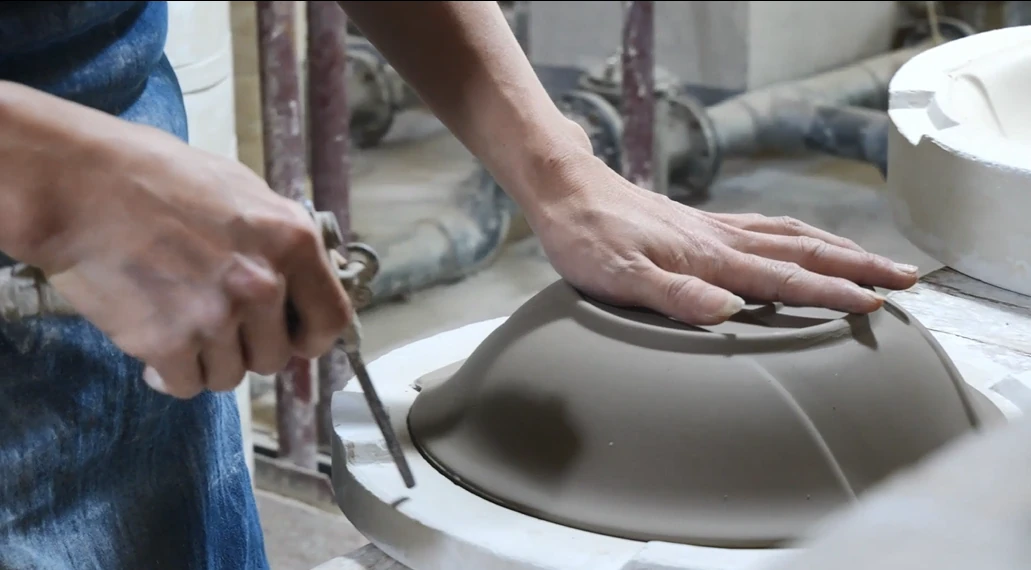
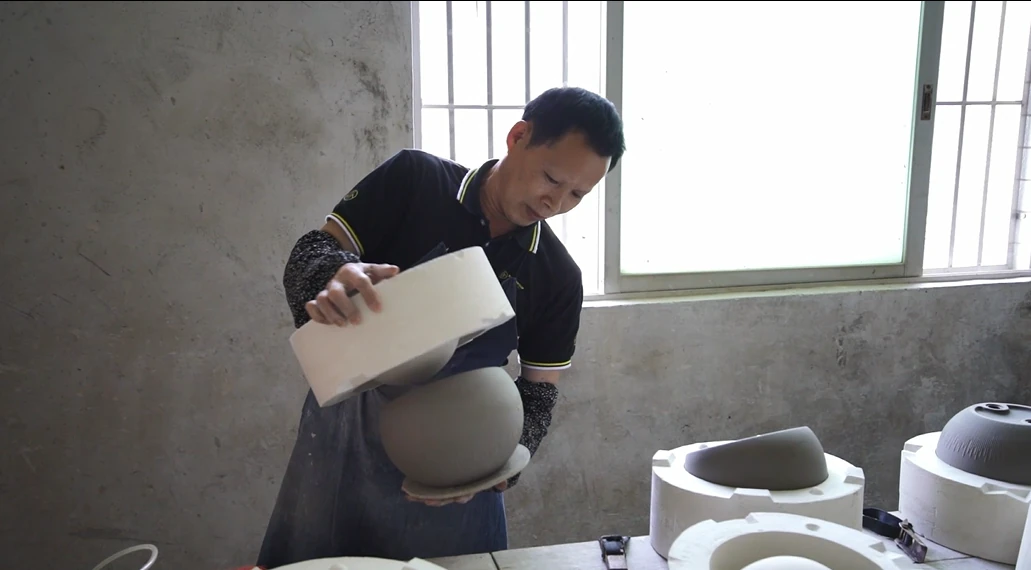
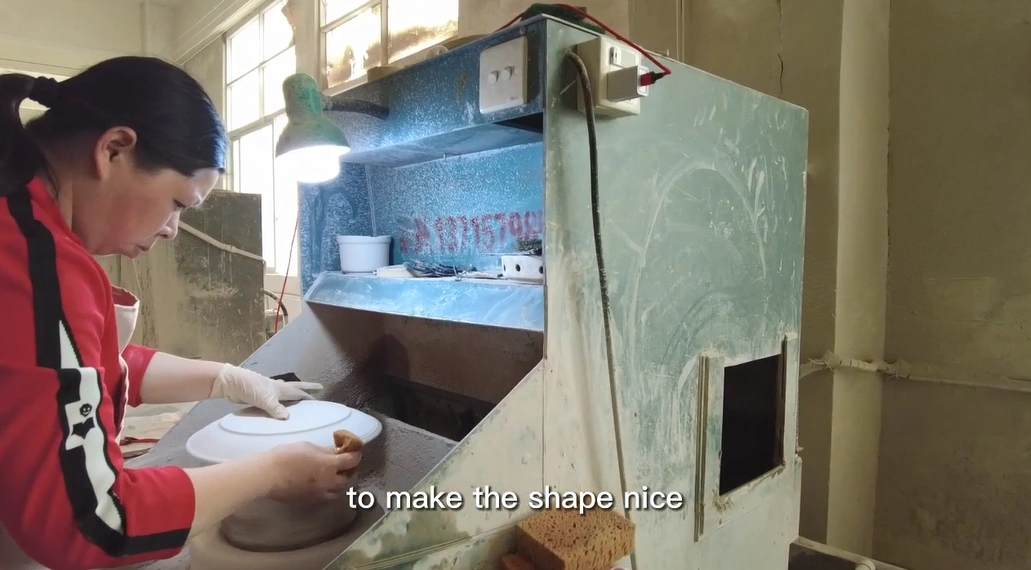
After removal, the next step is cleaning and refining , also called " greenware cleaning ." Skilled workers use sponges, knives, or soft brushes to smooth the clay surface. They carefully remove mold lines and small imperfections. Their expertise ensures that each piece achieves the desired fine texture and quality.
The Three Stages of Ceramic Coloring
Coloring is an important part of ceramic production. It improves both the look and durability of each piece. Not all ceramics go through all three coloring stages. The choice depends on the design, use, and durability needs of the product. Each stage has its own benefits, making sure each piece looks good and meets quality standards.
1. Underglaze Coloring
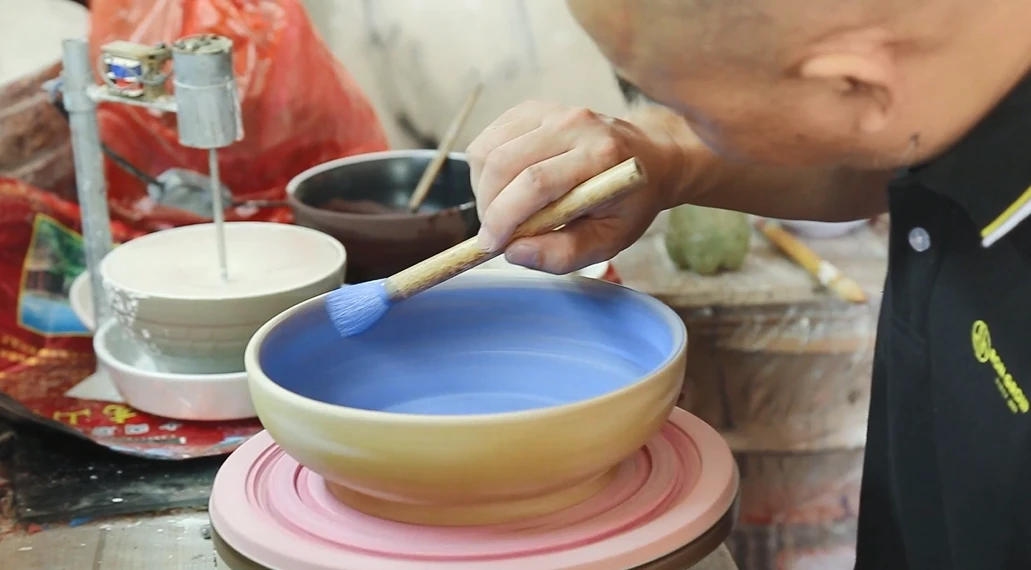
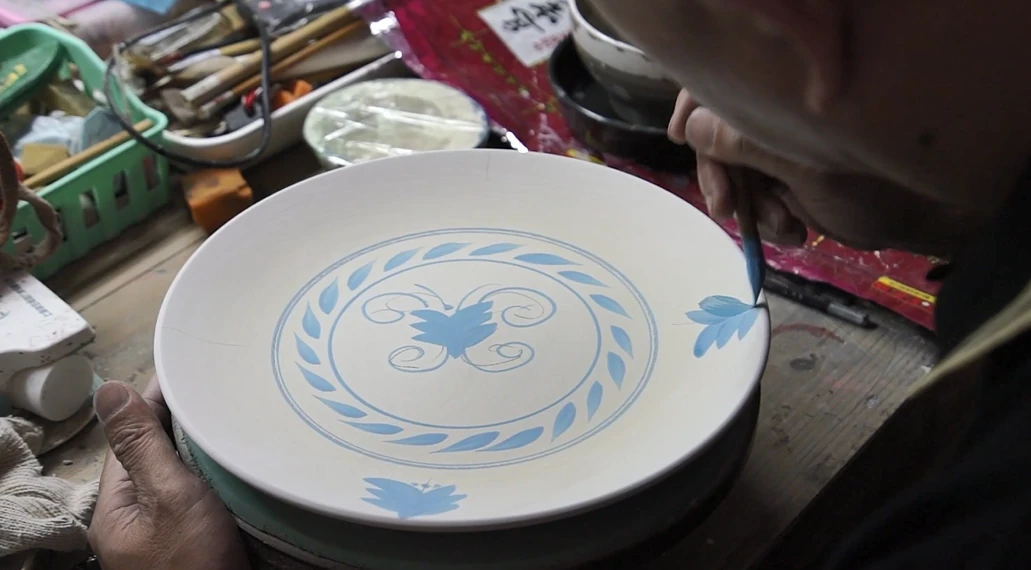
In this stage, color is applied to the unglazed ceramic before glazing. After adding color, a glaze is applied, and the piece is fired at high temperature. This fuses the color under the glaze, creating a soft, durable effect.
2. Overglaze Coloring
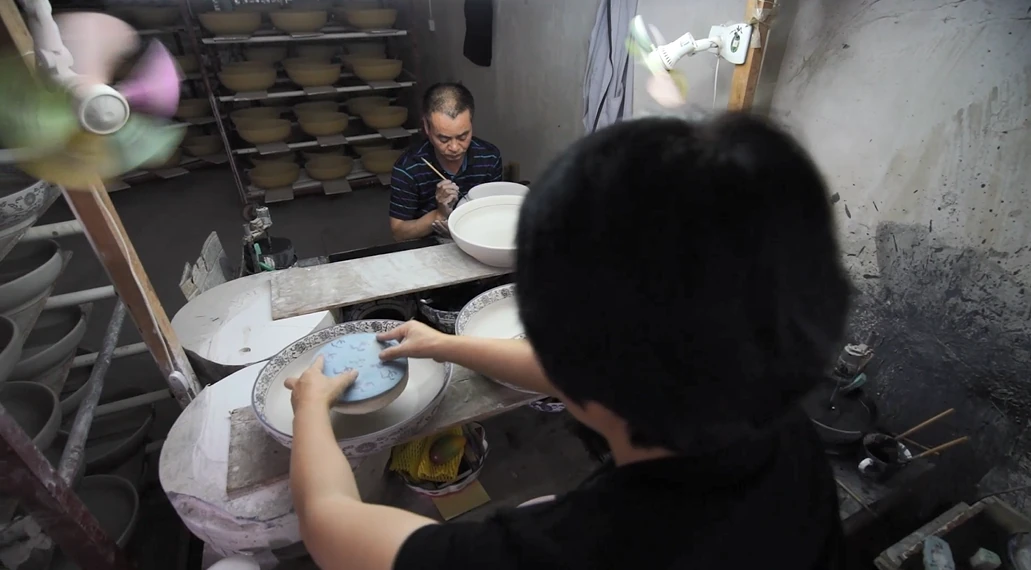
In this method, color is added after the first glaze firing. The color goes on top of the glazed surface, and then the piece is fired again at a lower temperature to set it. This gives bright colors, but since the color is on top of the glaze, it needs gentle handling.
3. Inglaze Coloring
Here, color is applied to the glazed, unfired ceramic surface. The piece is then fired at a high temperature, embedding the color into the glaze itself. This method combines the bright colors of overglaze with the strength of underglaze, making a finish that is both colorful and durable.
Each method adds to the unique look and quality of the ceramic piece, allowing for a variety of colors, strength, and textures.
Multi-Zone Coloring Process
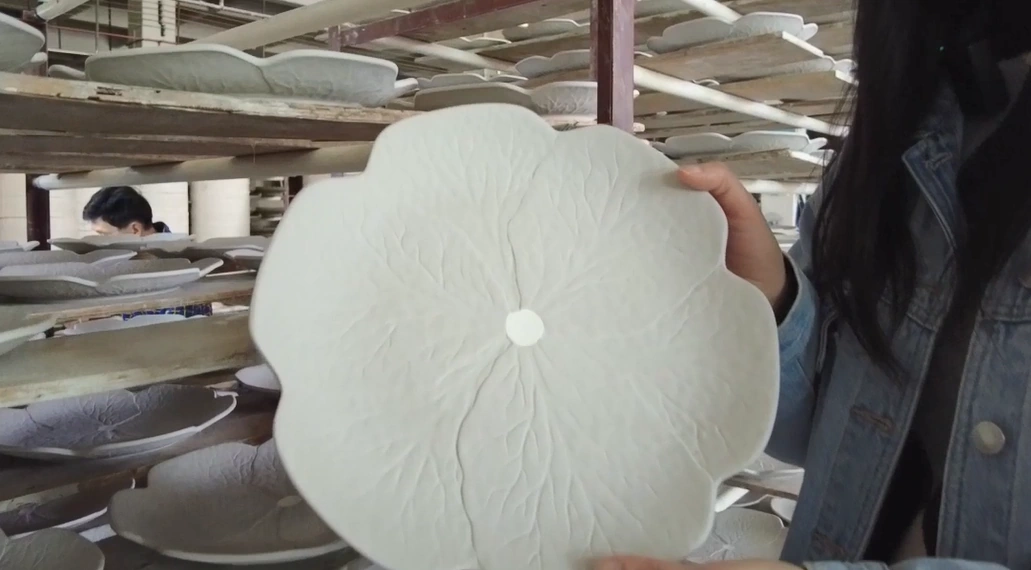
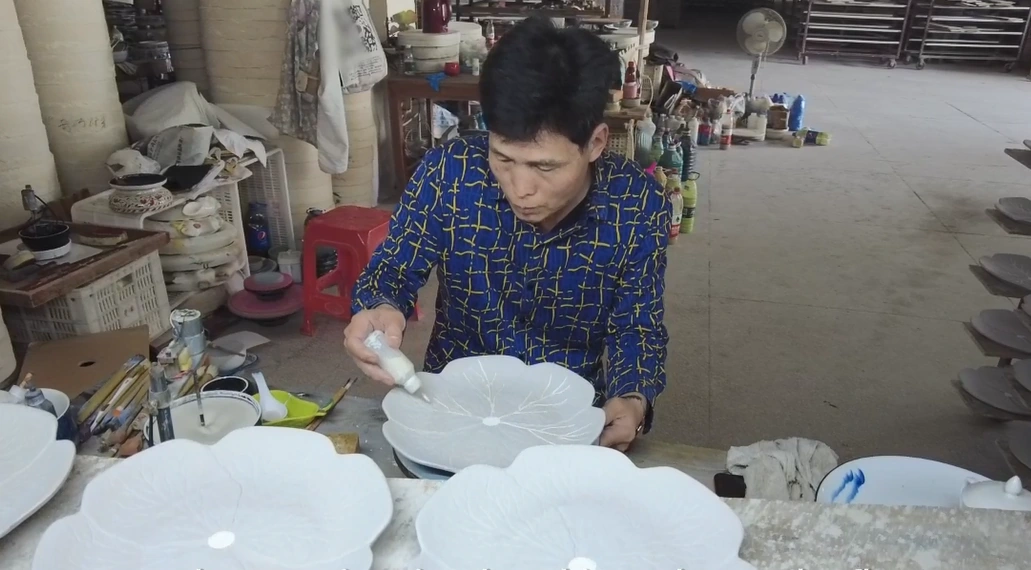
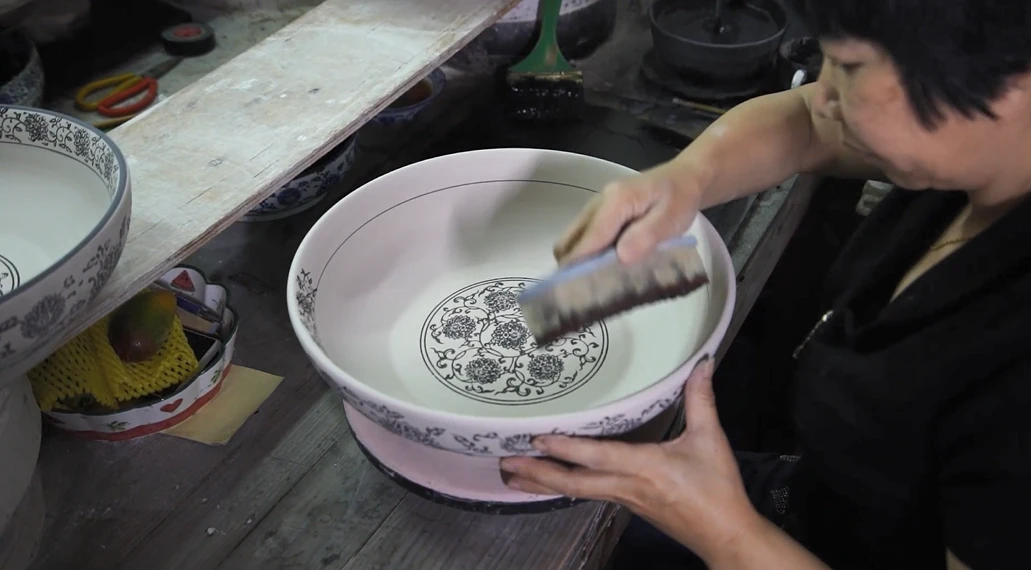
At RON GROUP, we use dedicated coloring zones to address the specific needs of each piece. The different colors, shapes, and surface details of ceramic plates need separate workspaces. These workspaces allow for precise coloring of different areas and layers of each plate. Each workspace is set up to handle specific shapes and colors, making sure the final product matches the design.
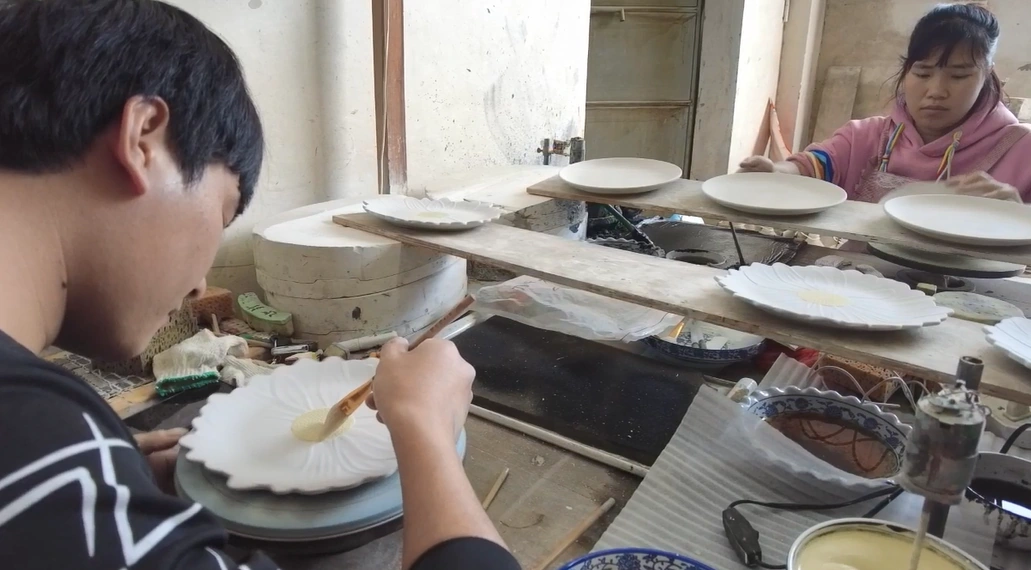
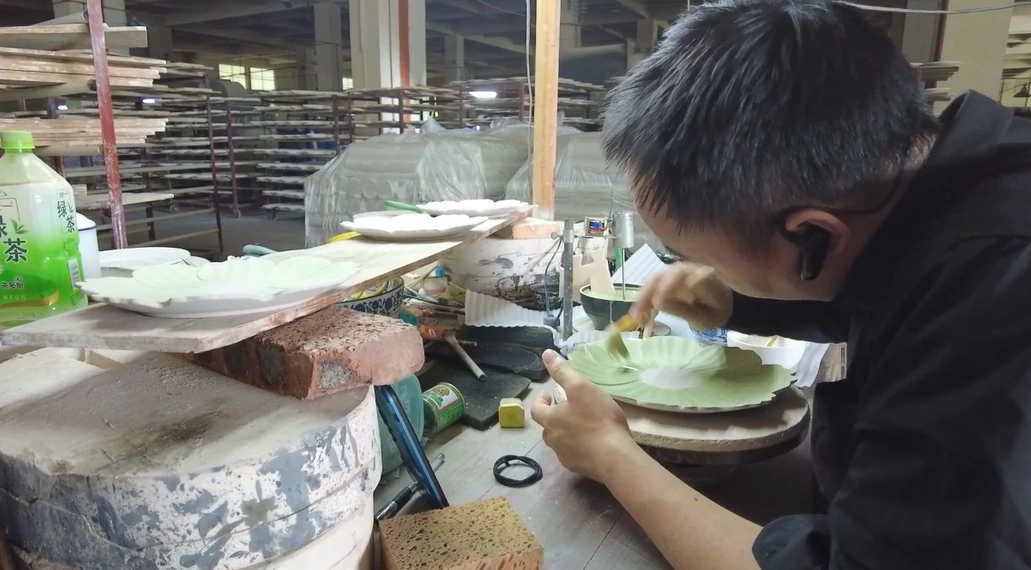
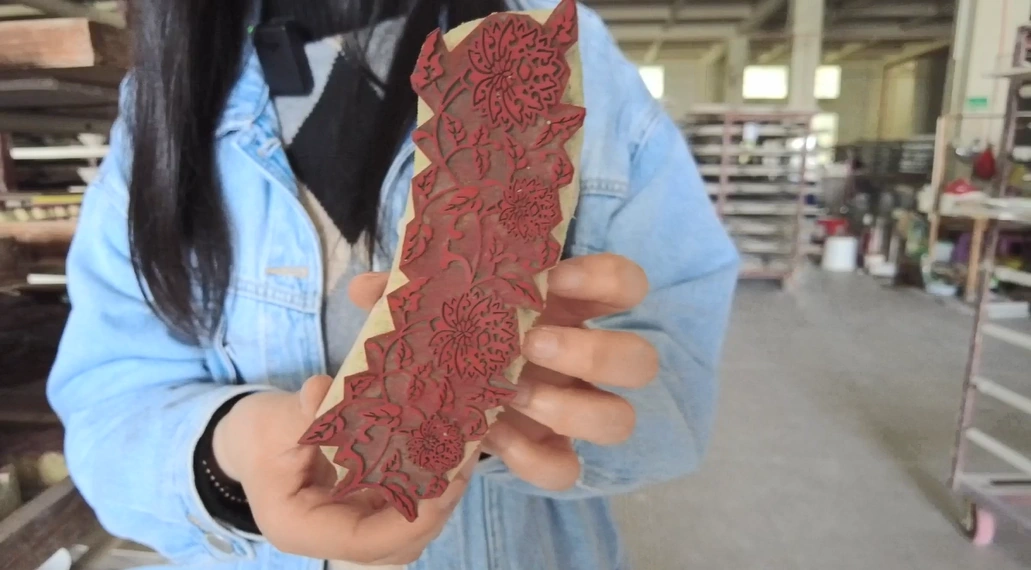
Besides using brushes and other traditional coloring tools, we also employ special carved stamping tools to add patterns by pressing them onto the clay surface. These tools enable quick and detailed pattern application, ensuring consistency and clarity in the design. This technique not only improves coloring efficiency but also allows for intricate decorative effects.
Immersion in Glaze for Additional Protection
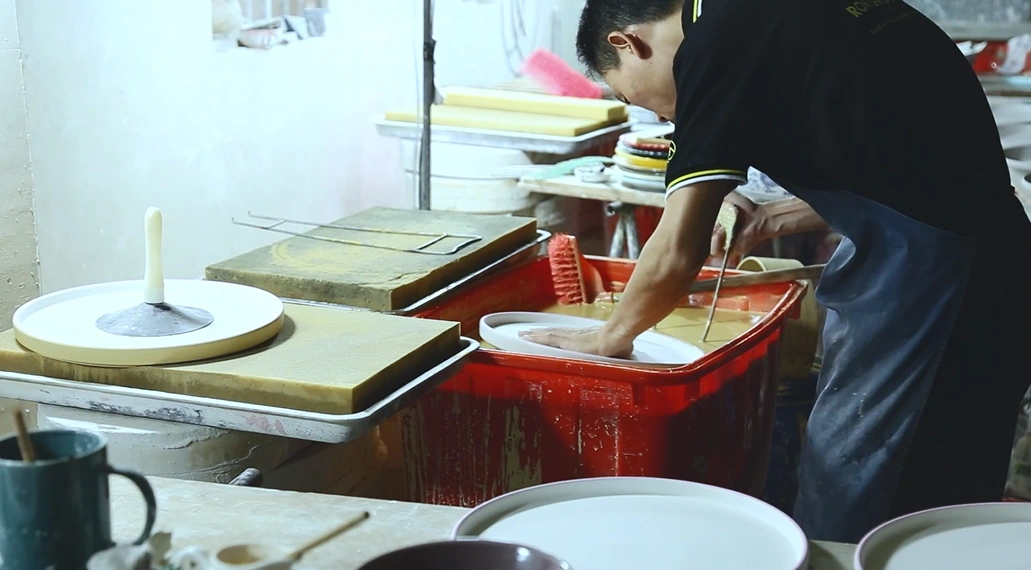
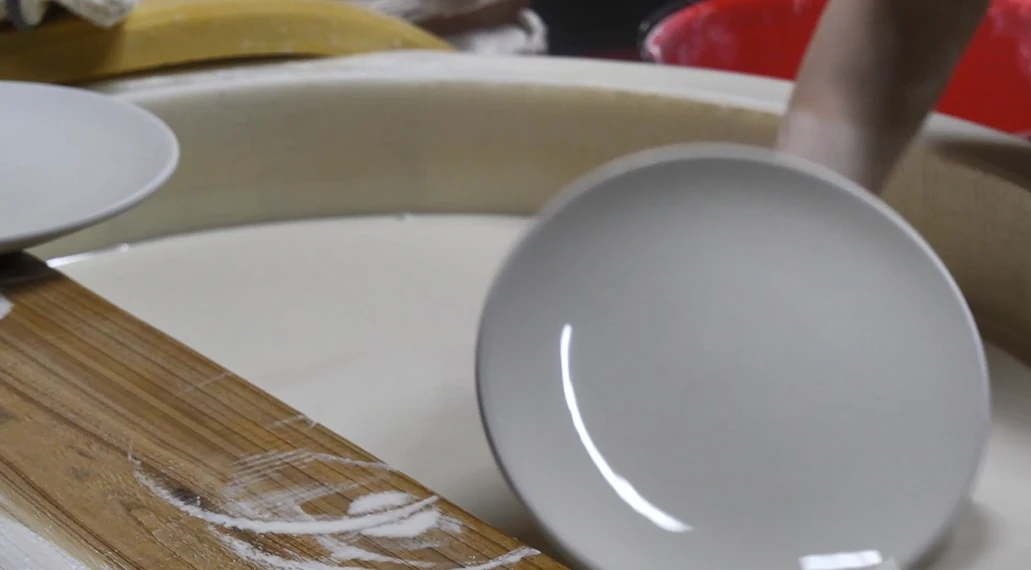
For some designs, plates with intricate patterns are dipped in a liquid glaze after the initial coloring. This final dip adds a clear, protective layer over the colors. It locks in the colors and gives a glossy finish. Afterward, the plate is fired, turning the glaze into a glass-like coating. This coating protects the colors and design, making the plate strong and easy to clean.
Firing Process
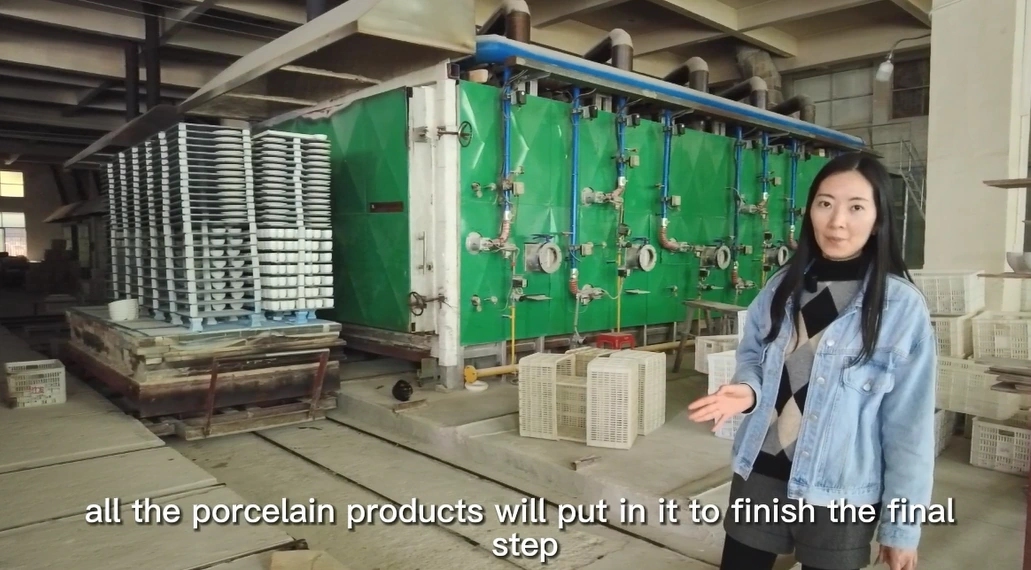
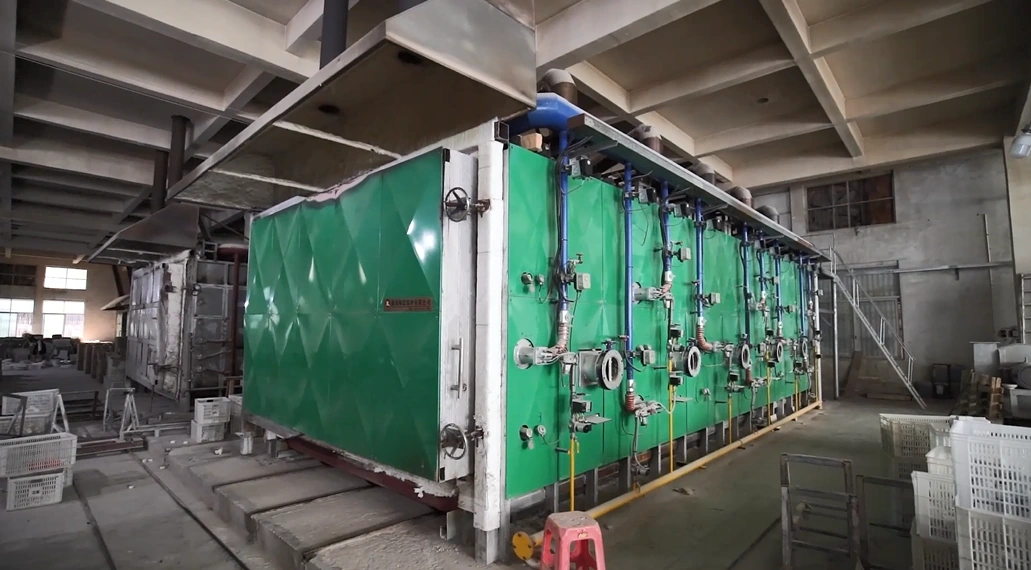
The firing process is an important part of ceramic production. It transforms clay into durable, finished products. The firing temperature varies based on the materials used, as different clays and glazes need specific temperatures for the best results. Here's a breakdown of the key steps in the firing process:
1. Drying
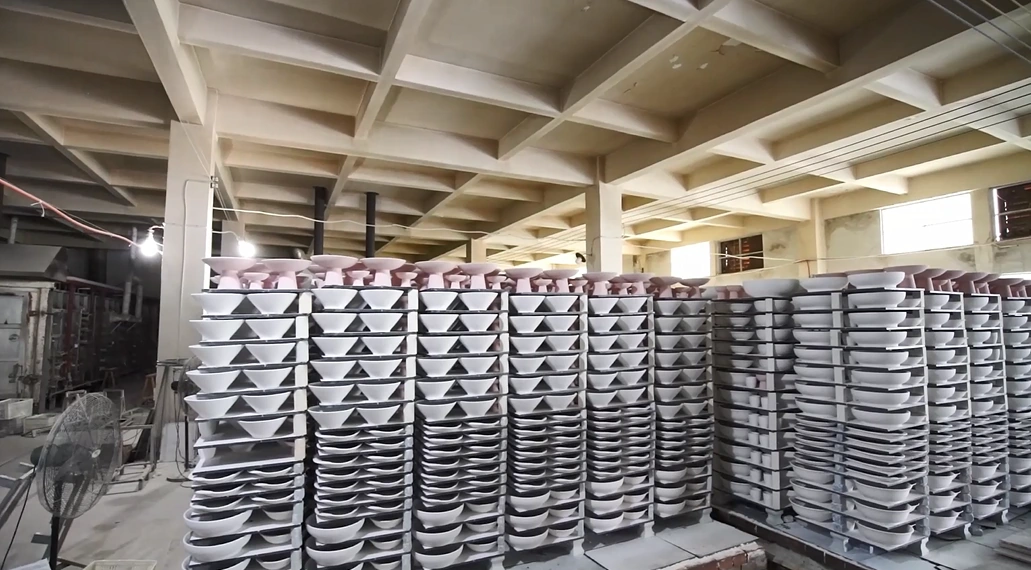
Before firing, ceramics must be thoroughly dried to eliminate moisture. This step prevents cracks or explosions during the firing process.
2. Bisque Firing
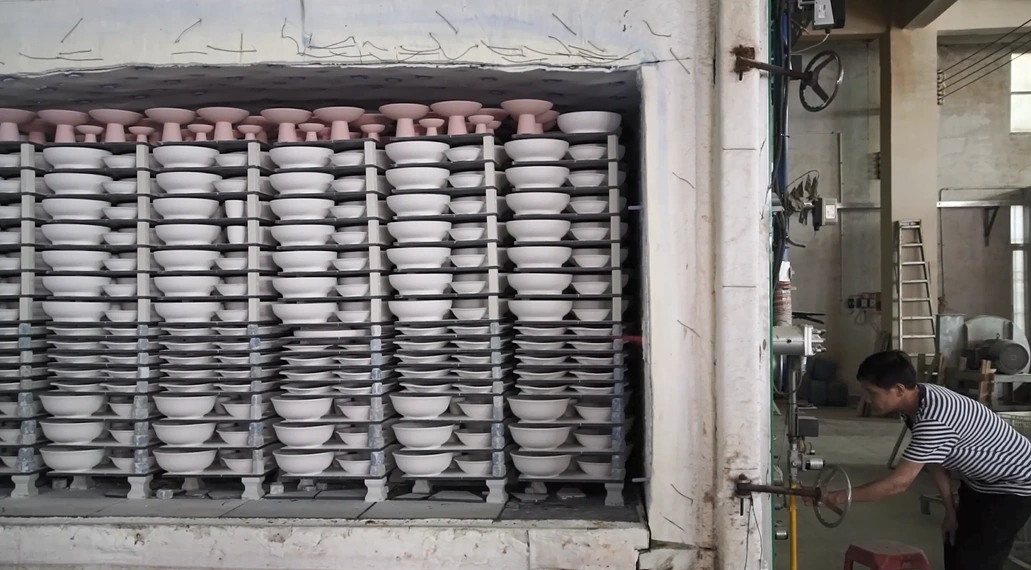
The initial firing, known as bisque firing , occurs at lower temperatures (typically between 900 deg C and 1000 deg C). This step hardens the clay, making it porous enough to absorb glaze. However, the exact temperature depends on the type of clay used (e.g., earthenware requires a lower temperature compared to porcelain).
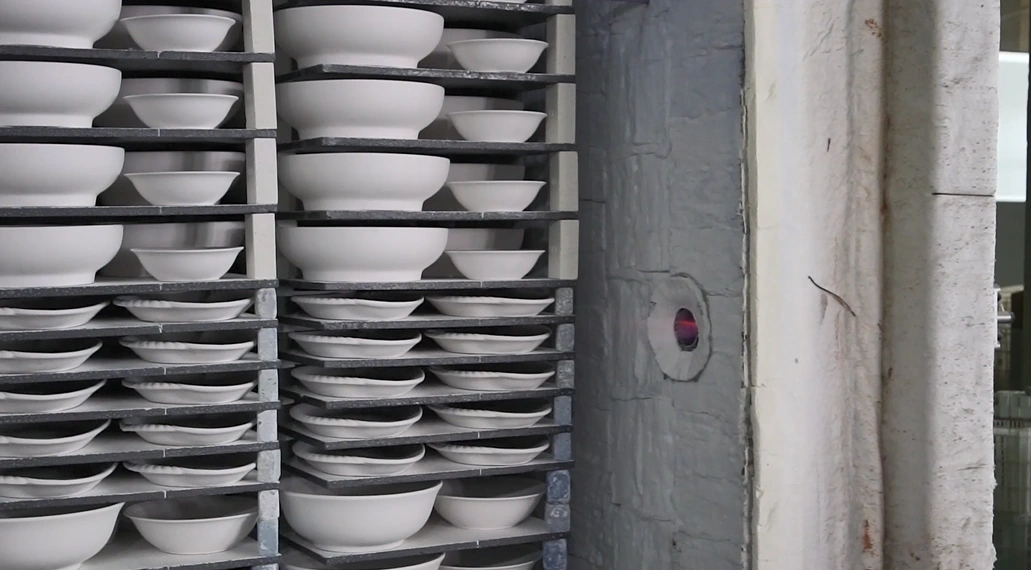
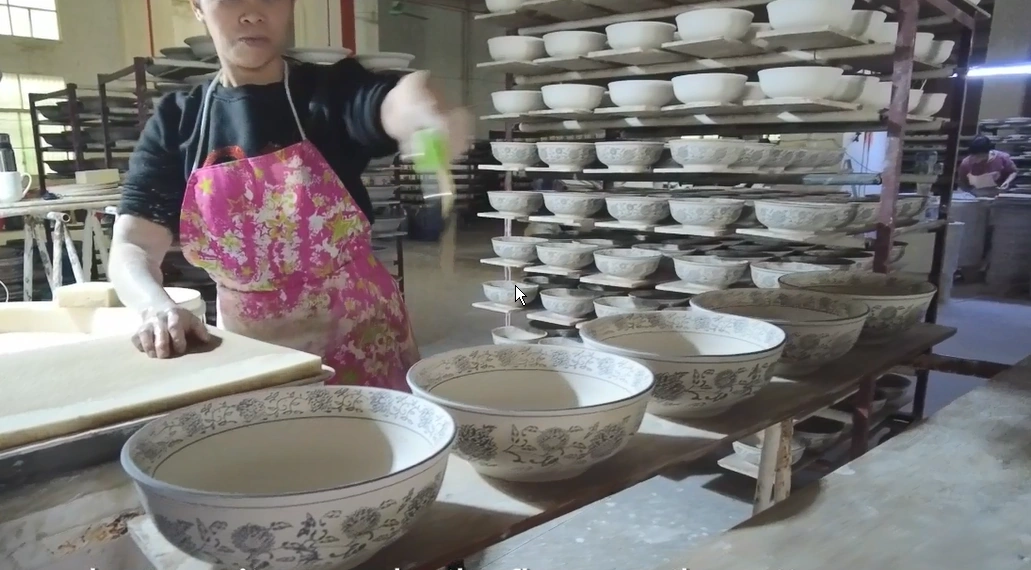
3. Glazing
After bisque firing, a glaze is applied to the ceramic surface. Glazing not only adds color and texture but also provides a protective layer. The glaze must be carefully chosen to match the clay's firing temperature for optimal bonding.
4. Glaze Firing
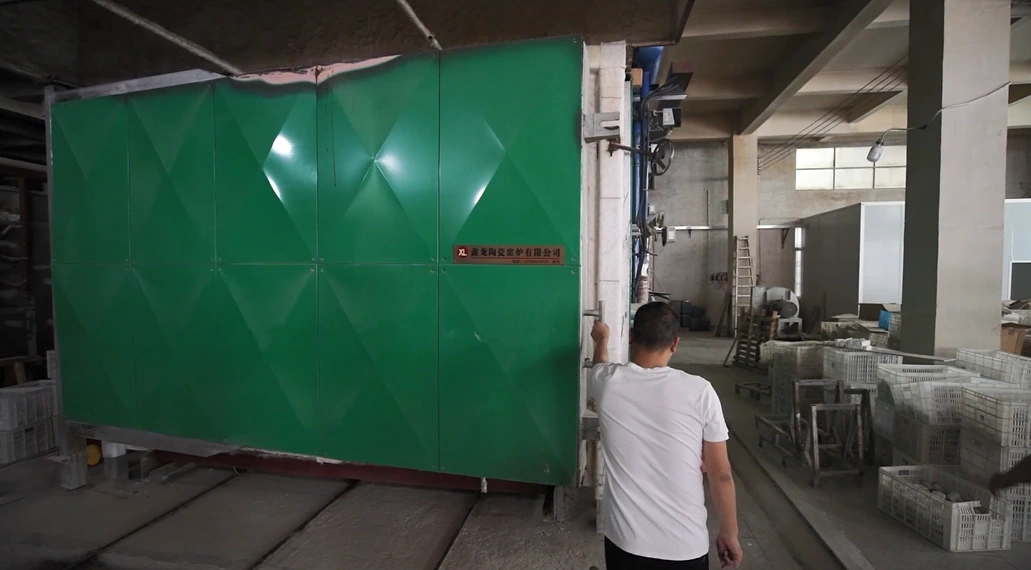
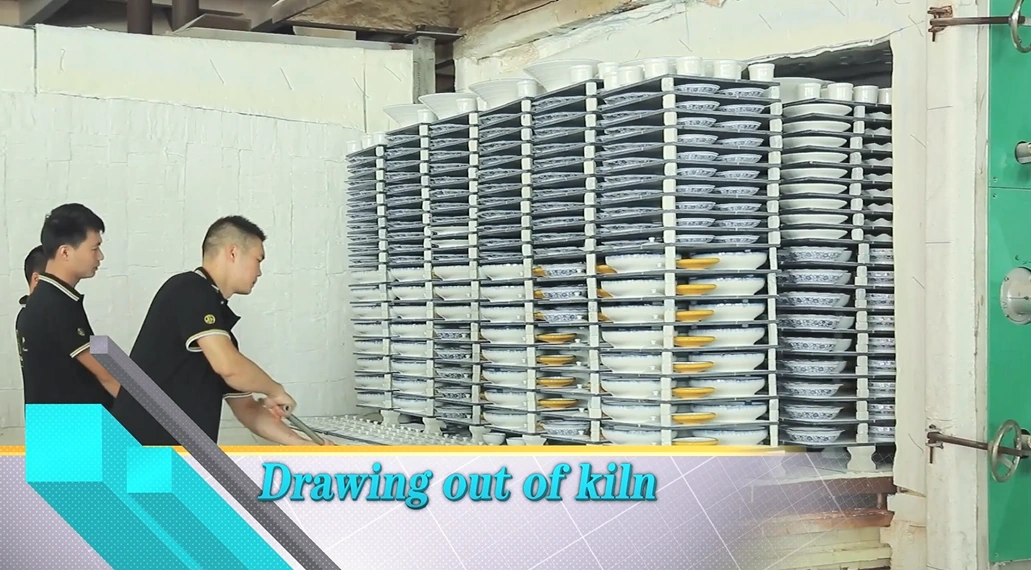
The final firing, called glaze firing, is done at high temperatures (between 1200 deg C and 1400 deg C) depending on the clay and glaze. This step makes the clay non-porous and fuses the glaze to the surface, giving it a glass-like finish.
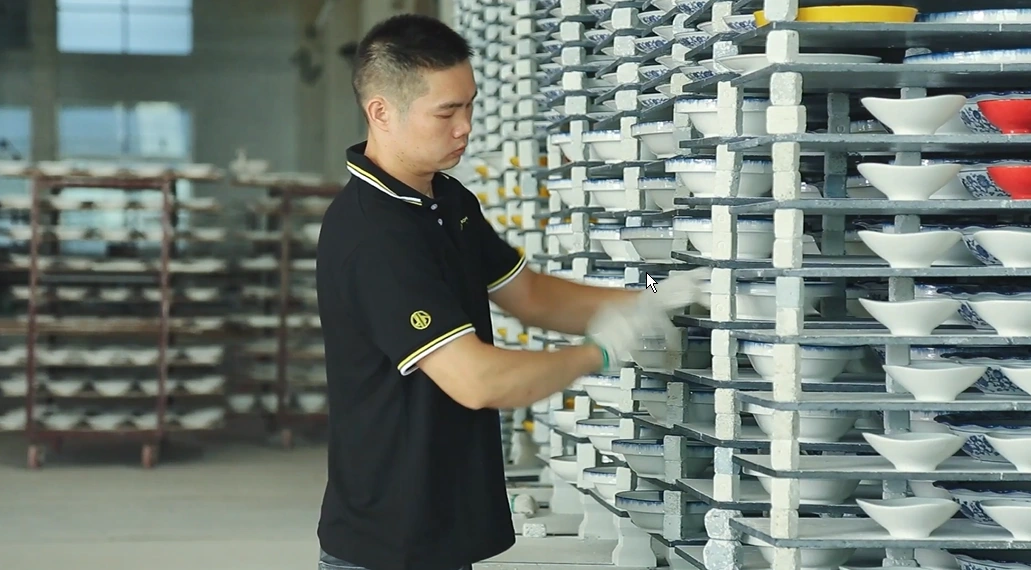
At RON GROUP, we carefully control each firing stage, adjusting temperatures based on the raw materials used. Our kilns have advanced temperature control systems, which allow precise adjustments for each piece. This helps ensure that every product meets our standards for durability and appearance, no matter the materials used.
Final Touch: Polishing the Fired Ceramic
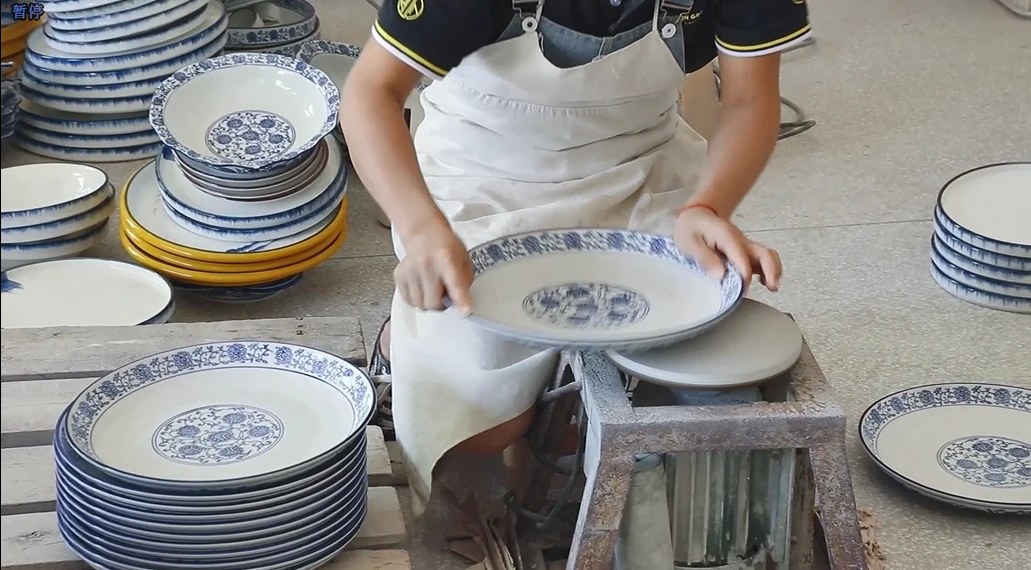
After the final firing, each ceramic piece undergoes a polishing process to ensure a smooth and refined finish. This final touch enhances the product's appearance, making it feel as elegant as it looks. Skilled workers polish the surface to remove rough edges and create a high-quality, glossy finish. This adds to the durability and appeal of each item.
Explore Our Crockery Collection
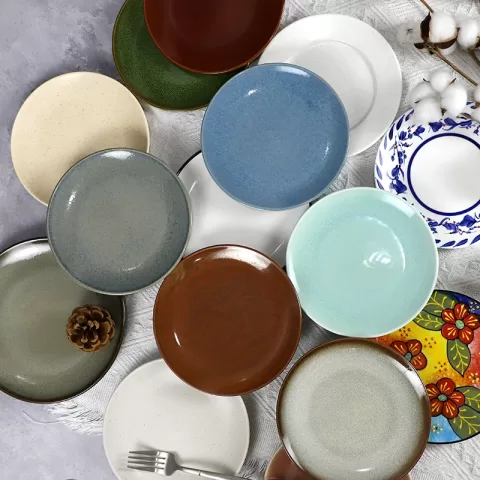
At RON GROUP, we take pride in offering a diverse range of crockery to suit various tastes and needs. Our Crockery Collection shows our commitment to quality and craftsmanship. Each piece combines both functionality and style.
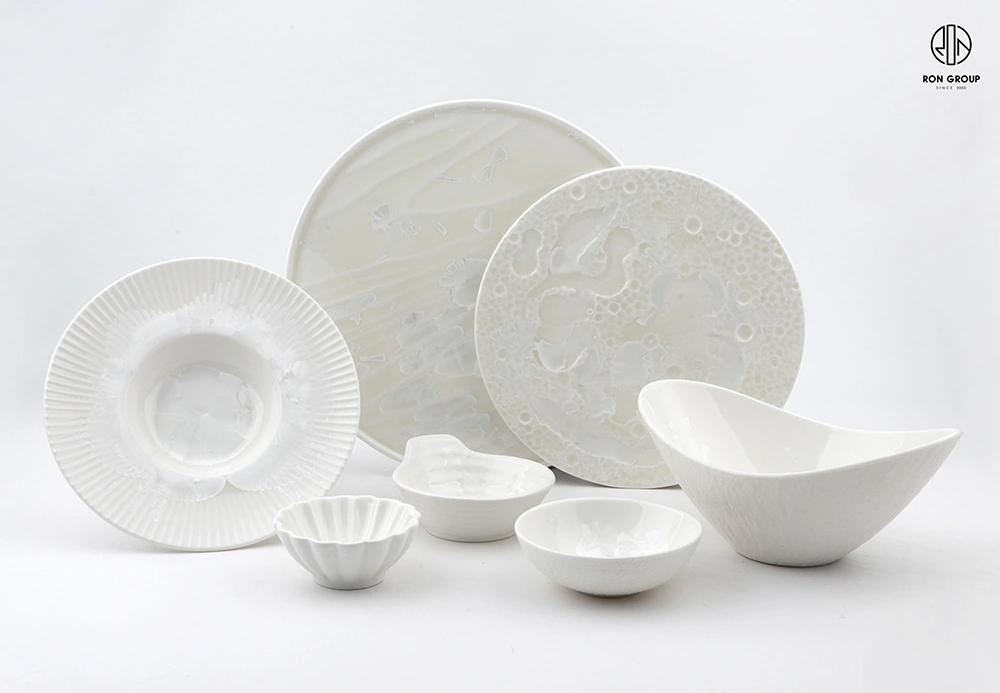
We also offer customization, letting clients choose materials, size, color, and even logo placement. Whether you're looking for porcelain, stoneware, or another specific material, our team is ready to bring your unique design to life. For custom orders or more information, please feel free to contact us anytime.
Get the week's latest industry information
-
Real-Life Professional Restaurant Case Studies
Explore Now
-
Create a unique restaurant with over 95,700+products
Explore Now
-
Protessional Free 3D Restaurant Design
Explore Now
-
Still Have Questions About Opening a Restaurant?
Explore Now

Sylvia
With 8 years in catering & hospitality industry, sales manager of Ron Group, specialise in providing one stop solutions to restaurants, hotels and weddings.
Discover Our Exclusive Products
Explore our extensive range of restaurant and hotel supplies designed to enhance your operations. Find the perfect solutions to meet your needs.
Browse Our ProductsFREE 3D DESIGN
Boost your restaurant's success with our free 3D design service. Start building the restaurant of your dreams today!
Explore 3D Design Case
RECOMMENDED CASES
-
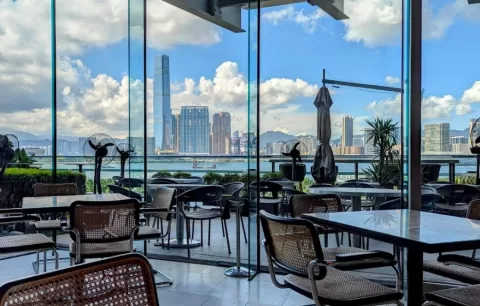
La Rambla by Catalunya: Crafting Barcelona's Soul in Hong Kong - Custom Furniture Excellence
RON Group's custom Spanish-inspired furniture elevates La Rambla with artisanal aesthetics...
Learn More -

Cardinal Point: Elevating Outdoor Seating with Tailored Cushion Upgrades
Discover how Cardinal Point transformed its outdoor dining experience with custom cushions, achievin
Learn More
RECOMMENDED BLOGS
-
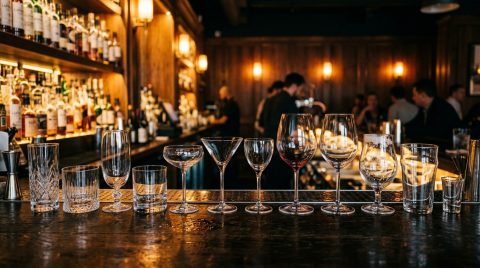
Bar Glassware 101: Types, Names, Uses, and How to Stock Your Bar
Learn the 10 core bar glassware types, names, and uses. Discover how to stock your bar with the right glasses for cocktails, beer,...
Sylvia2026-07-26 -
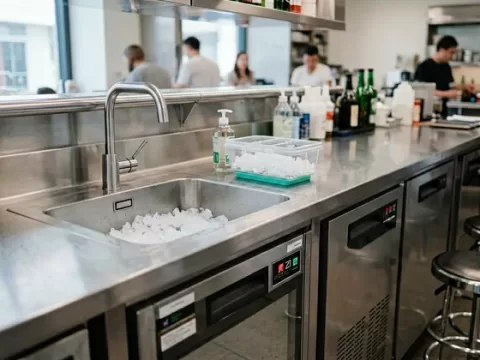
Complete Bar Equipment List for Opening a Bar
Use a complete bar equipment list with pictures, covering workstations, ice, refrigeration, glassware, utilities, sanitation and a...
Sylvia2026-06-11 -
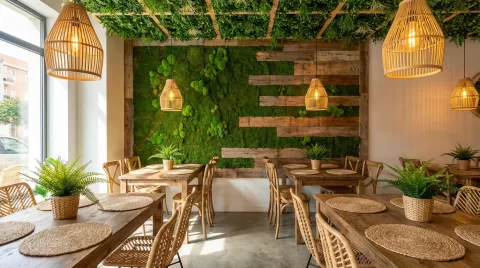
Low-Budget Restaurant Interior Design Ideas: Spend Where Guests and Staff Notice
Explore low-budget restaurant interior design ideas, practical material choices, layout priorities and phased upgrades without...
Sylvia2026-04-04
Subscribe to RON GROUP
Stay up-to-date with the latest industry insights and expert advice. Together, we'll create your ideal restaurant.